
Project Requirements
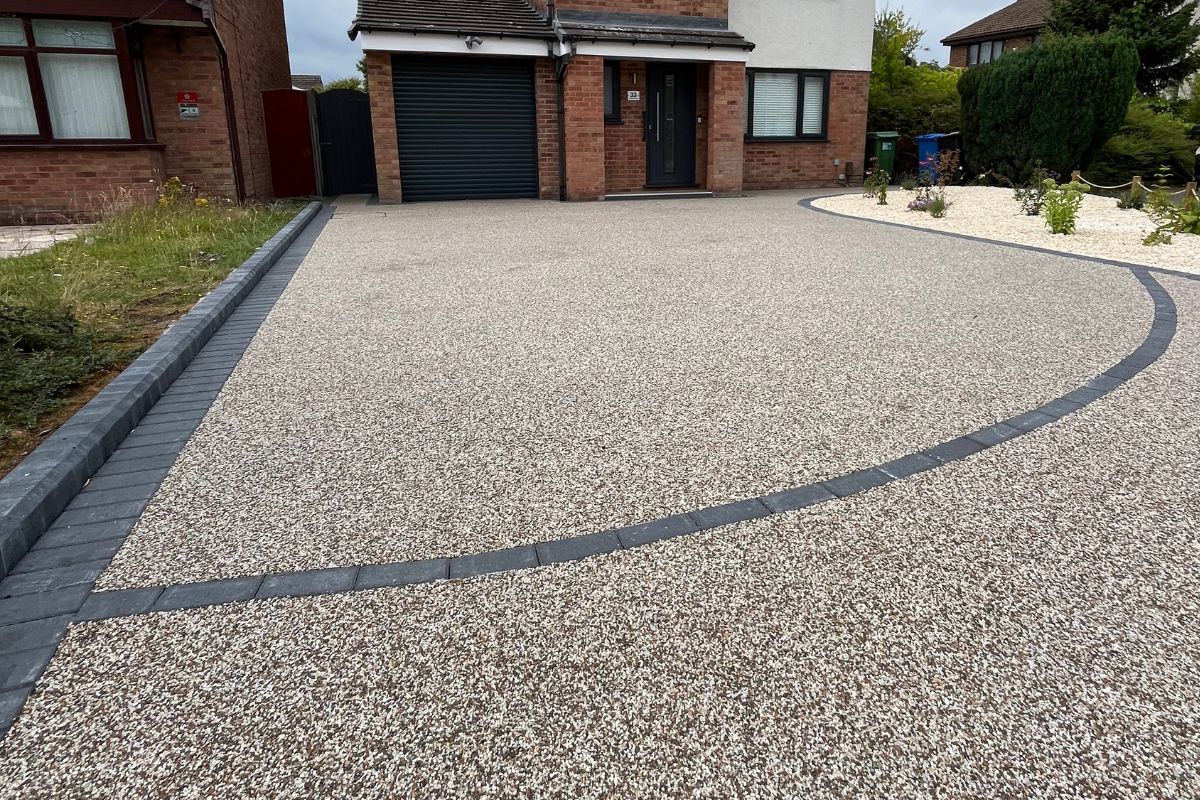
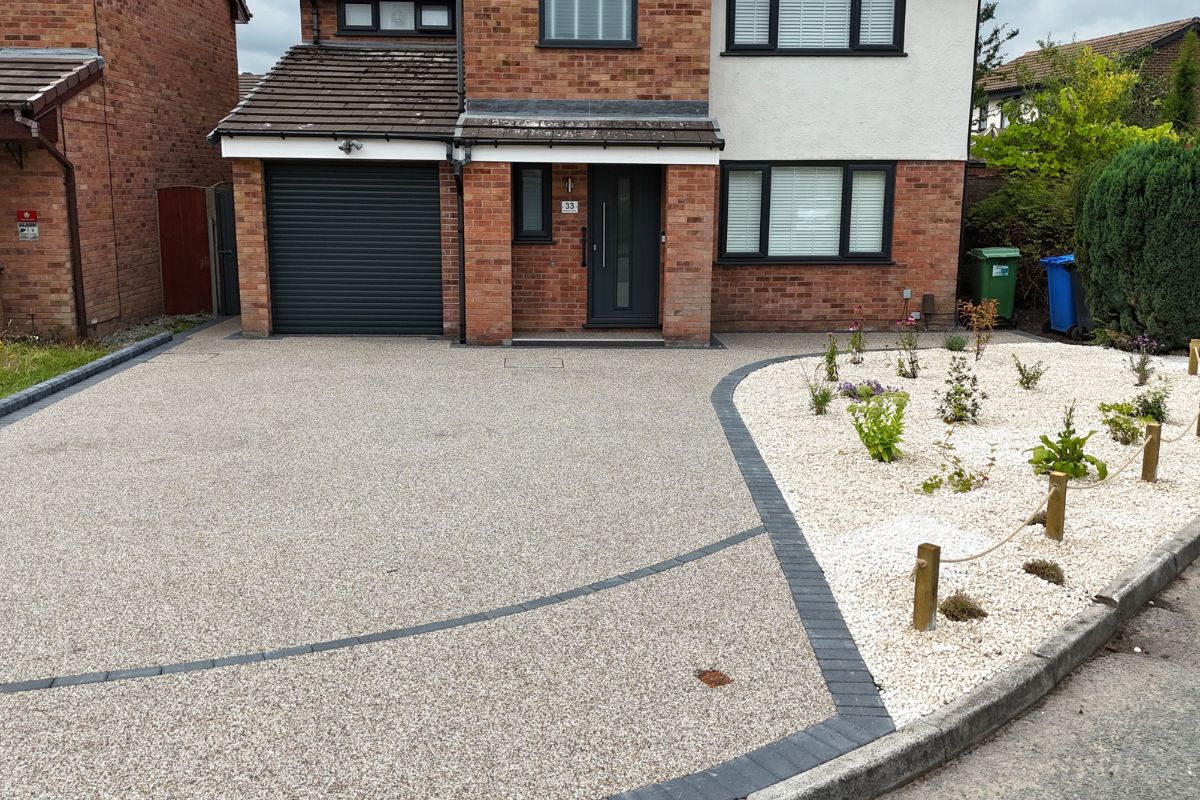
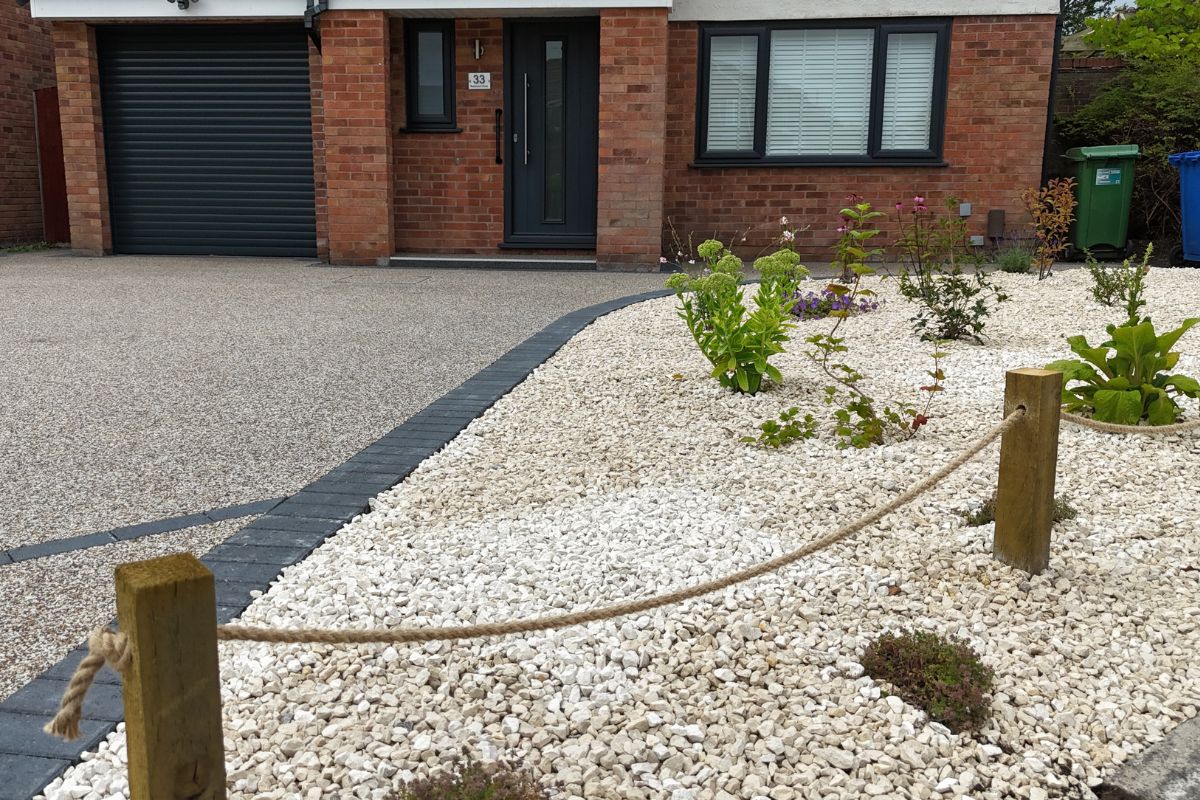
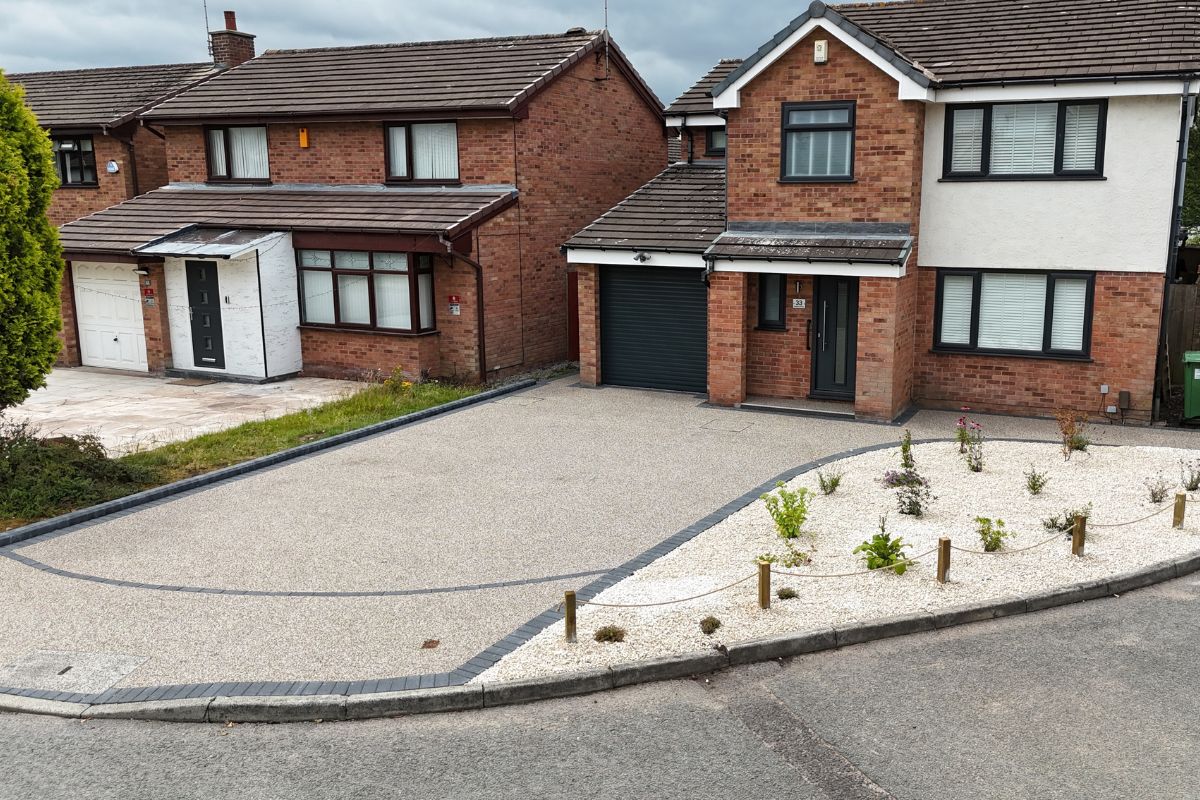
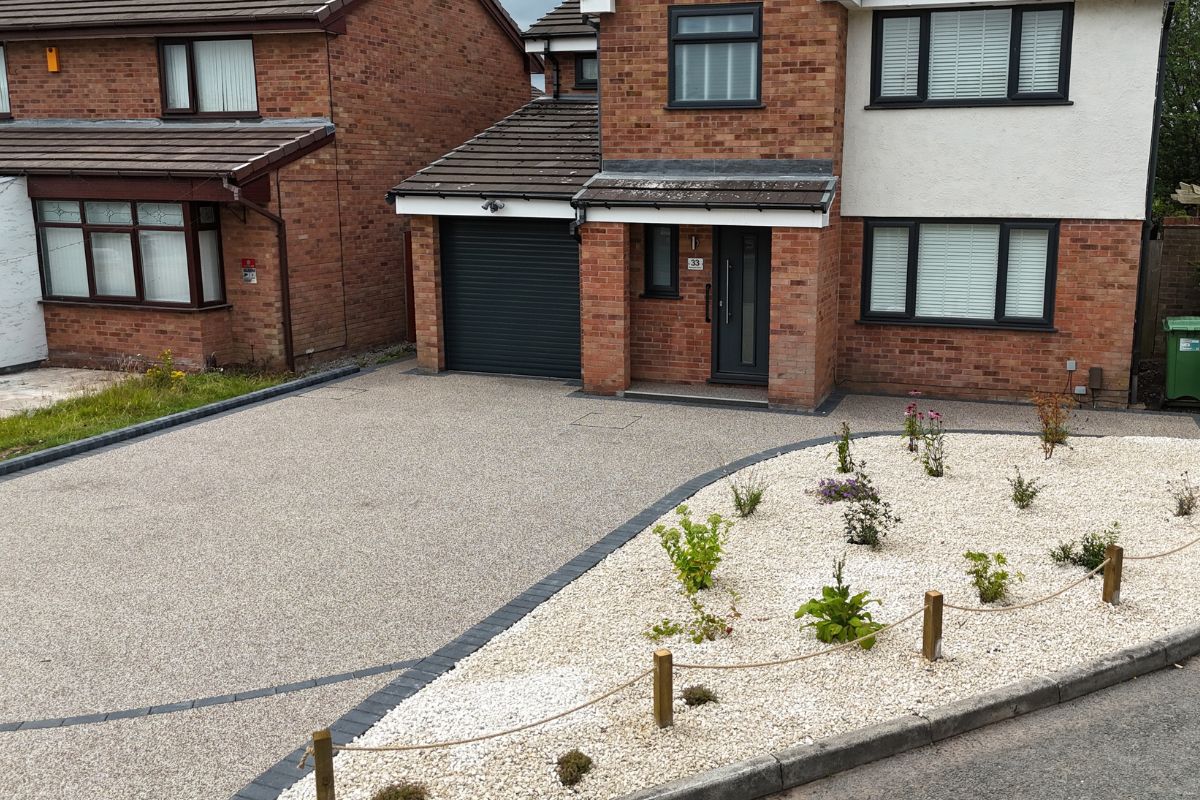
Green Acorn Landscape Design don’t just renovate gardens; we also offer driveway installation. For this project in Warrington, our team installed a modern resin driveway to provide more space for our clients’ vehicles, as well as enhancing the kerb appeal of their home.
Resin Driveway Groundwork
The first step in this resin driveway project was to install the ground stabiliser. We dug up the ground levels of the driveway so we could lay the Geotex membrane.
Once our grab wagon had removed the waste materials, we then laid the base level of the new driveway using Limestone MOT, which provides drainage and stability. Tarmac is installed next, and this is the layer the resin mix will go on top of. To ensure a neat and even surface, we set the tarmac 22mm lower than the finished driveway height.
This allows us to accommodate the height of the resin and ensures a seamless finish.
Block Paving Edging
Before the tarmac was laid, we installed a block paving border around the edge of the driveway. This will not only provide a visual benefit to the finished driveway, but also define the area to ensure sufficient and seamless installation of both the tarmac base and the resin mix.
Resin Driveway Installation
For this resin driveway, we used 7.5kg of UV-stable resin, mixed in two parts. Parts A and B are mixed and combined in a Force Action Mixer, along with the stone aggregates, to create a strong bond.
To lay this driveway material, we first use a hand trowel and then a power float to give the resin driveway a flat, even surface. For additional grip, we sprinkle crusted glass on top of the resin driveway and leave it to set.
Products Used:
- Resin Bound Stone
- Block Paving